


Bandon Dunes
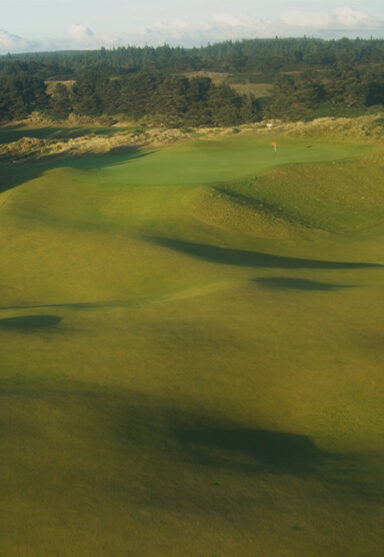
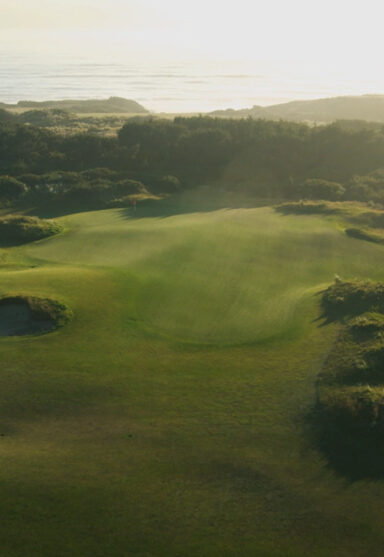
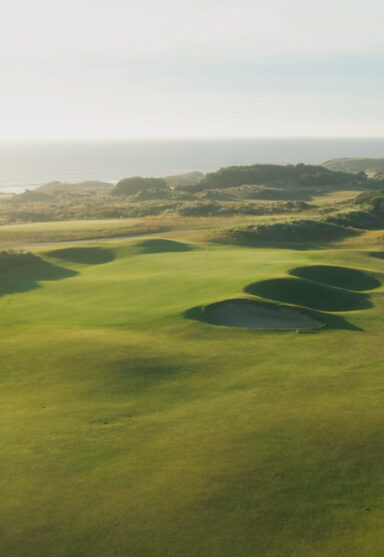
It began in 1999 with the opening of Bandon Dunes. Designed by Scotsman David McLay Kidd, the course is perched on a bluff high above the Pacific Ocean where mother nature's ever presence had already laid the blueprint for what would become one of golf's most iconic courses. The routing teases all of your senses before turning back home to the epicenter of the resort, unfolding along pristine native dunes where expansive ocean views are revealed numerous times during your journey. Beyond breathtaking scenery lies the game of golf in its truest form. This is a thinker's course. Winds are ever-present, and the varying elements create a new experience each time you play.


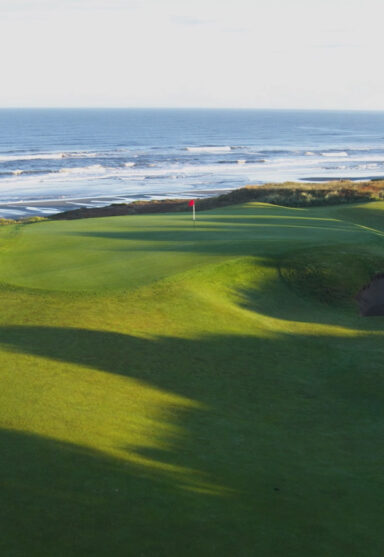
Course Camera
Soak up the remarkable views from the Main Lodge overlooking Bandon Dunes on our 24/7 high resolution course camera.

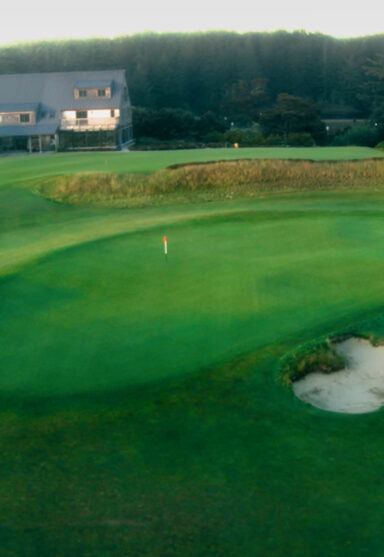
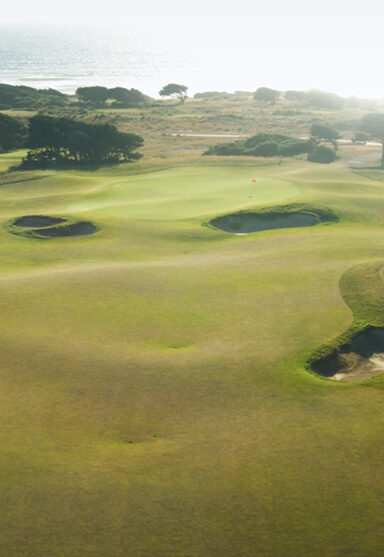
Scorecard & Aerial Course Map
The score presents itself when you’ve put in the time. Study up.

Shop Bandon Dunes Gear
The latest styles from your favorite brands logo’d with the iconic Bandon Dunes tufted puffin.

“Picture a cross between Pebble Beach and Carnoustie – with a pinch of Pine Valley for good measure – and you have Bandon Dunes.”
– Golfweek

Once noted that the first hole of any golf course shouldn’t be too difficult. That is exactly the case at Bandon Dunes. Tee shots should favor the left side of the fairway and an approach shot that favors the right side of the green will avoid the enormous hump that sits in the left middle of the green.

A medium length par 3 that requires a significantly uphill shot. The prevailing northwest wind will blow the ball from left to right, causing shots to often end up short or in the right side of the collection area. An extra club may be recommended. The undulating green puts a premium on putting.

This first par 5 also represents the first real opportunity for a birdie. Take a look at the entire hole and analyze the second shot landing area, as it may be blind from the fairway. Enjoy the view!
Use the bunker straight-away as a target for your tee shot. Club selection on your approach is vital, as the green is protected in the front left by deep bunkers, and the Pacific Ocean awaits any balls hit long. A low trajectory shot hit up the right side of the green may be the best play.

Remove your attention from the breathtaking scenery long enough to muster the concentration necessary to drive the ball into the right half of the split fairway. Since the hole will play directly against the prevailing wind, it may be necessary to consider conceding this as a three shot hole, rather than risking a big number.

Against the prevailing wind, this hole requires much more club than the yardage suggests. Beware of the bunker on the left. It is very deep. A missed shot to the right of the green will leave a manageable chip to save par.

The fairway is much wider than it looks, so relax and make a comfortable swing. Favor the left side of the fairway, which is actually over the outcropping of beach grass. Pay particular attention to the hole location, as this is effectively a three tiered green. Although it is desirable to be on the same tier as the hole, when the hole is cut back left, it is advisable to find the middle of the green and take your chances on a long putt.
Check your yardage to carry the cross bunkers; it can be deceiving. The narrow opening in the front of the green makes the green seem narrower than it is. You can use the hump in the front left of the green to feed balls toward the center. Don’t fall asleep on this hole! It is harder than it looks.
You must avoid the pot bunkers in the center of the landing zone. Left of them provides a more generous fairway, but a longer distance to the green. With the prevailing wind usually helping on this medium length par 5, going right of the bunkers could make this a two shot hole.

A drive down the right provides the shortest approach shot, while playing to the left provides the best angle to this very shallow green. Don’t be intimidated by the blind second shot; just trust your yardage.

Fighting the prevailing wind, this hole willplay extremely long. Avoid the bunker that guards the right sideof the green, and be aware that the green slopes away from you.
Club selection is crucial to this shallow, firm green. A sod-faced bunker awaits short shots, and natural fescues approach quickly from behind. A shot played into the front right opening of the green will serve you well to any hole location.

Playing downwind, this is a very reachable par 5. Significant topography down the right side of the fairway may present awkward lies, while a drive down the left brings the only internal water hazard on the golf course into play. Steep slopes short of the green will funnel balls into a deep collection area.
This dogleg-right has a shallow green tucked behind the distant dune. Consult your carry distances to determine which fairway bunker to use as a guideline for your tee shot. Drives toward the left will provide a better angle to the elongated green.

Favor the left side of this green, as the deepest bunker on the course lurks on the right, and the bank on the left will feed all shots toward the center of the green.
With the prevailing wind at your back, it is much easier to carry your drive onto the top fairway than it looks. The approach shot from the upper fairway is much shorter and provides a good look at the green. Do not attack the right hand hole locations, as the gorse is much closer than it appears from the fairway.

A drive down the left side of the fairway provides the best angle to the green. The tee shot plays slightly downhill, while your approach is more uphill than you think. Because this hole has the deepest green on the course, it is essential that you factor the hole location into the length of your approach shot.

This wonderful finishing hole offers you a chance to finish strong. A drive in the left side of the fairway avoids the bunkers and hazard on the right, as well as providing the best look at the green on this dogleg right. If you encounter a blind second shot, use the right edge of the clubhouse as a reference point.