

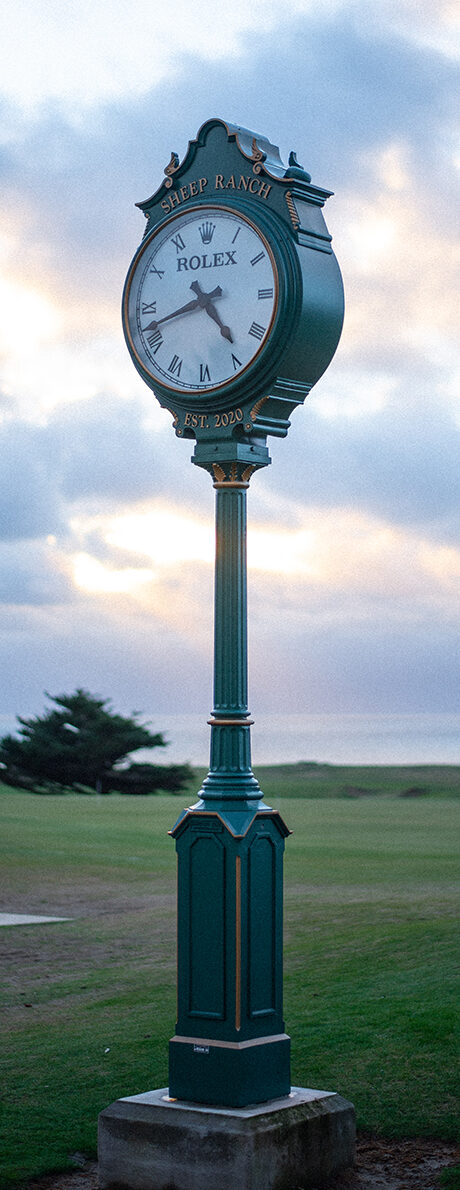


Sheep Ranch
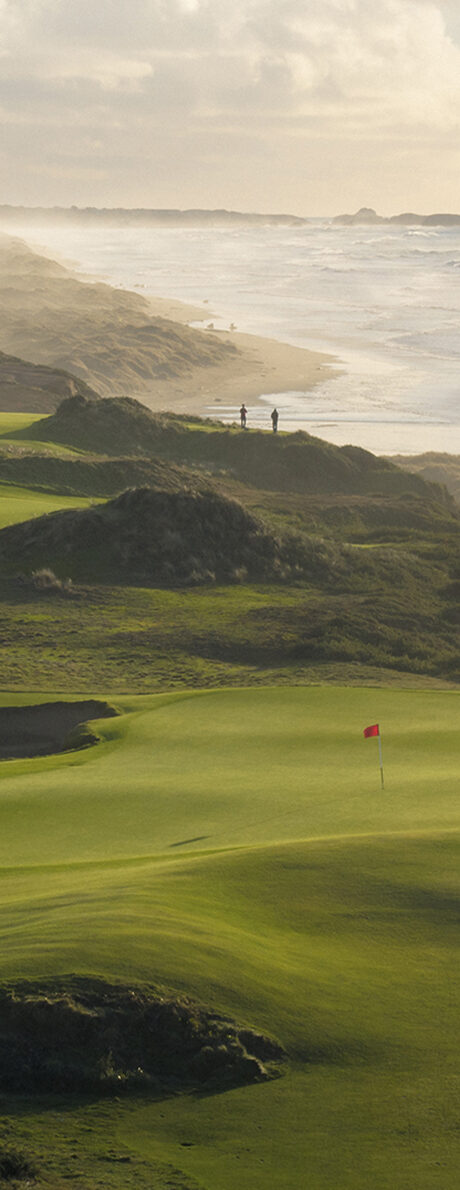
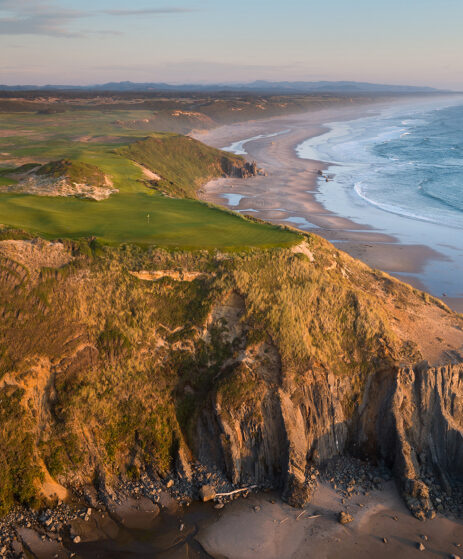
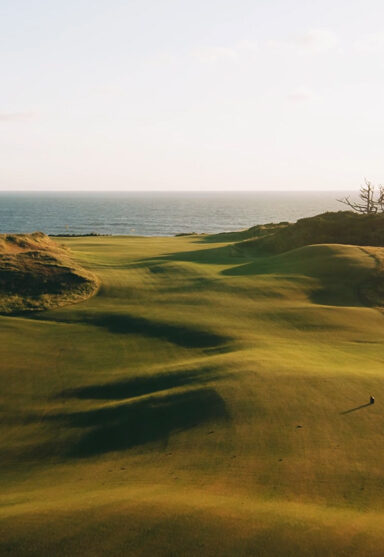
Renovated by the world-class design team of Coore & Crenshaw and co-founded by Phil Friedmann and Mike Keiser, the Sheep Ranch was for many years a mysterious golf landscape just north of Bandon Dunes Golf Resort. Now with one mile of ocean frontage, nine green sites right along the edge of the continent, and stunning Pacific Ocean views on every hole, Sheep Ranch continues the legacy of “Golf As It Was Meant to Be” on the Pacific Coast.


Course Camera
Soak up the remarkable views from the Sheep Ranch Clubhouse on our 24/7 high resolution course camera.
Scorecard & AerialCourse Map
The score presents itself when you’ve put in the time. Study up.

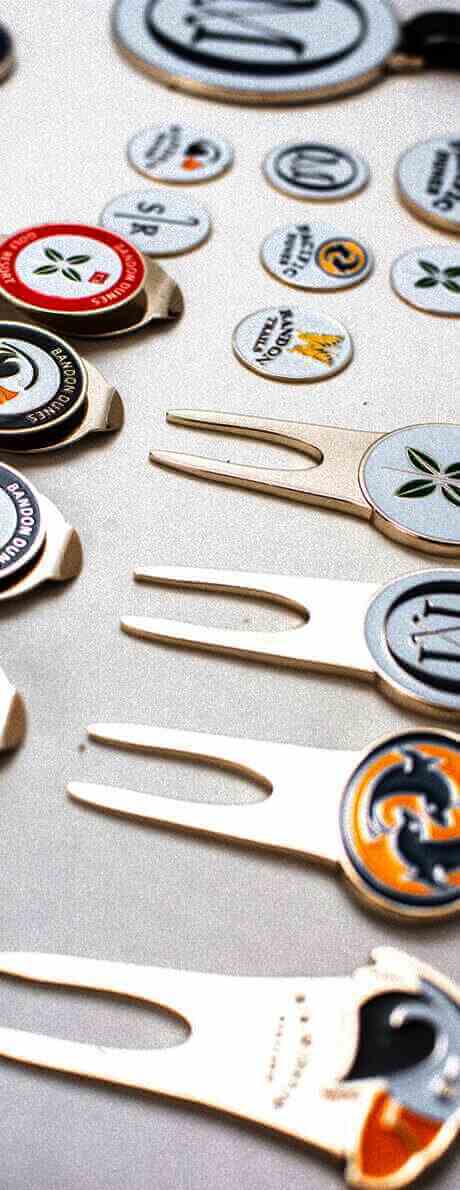
Shop Sheep Ranch Gear
The latest styles from your favorite brands logo’d with the Sheep Ranch shepherd’s crook.
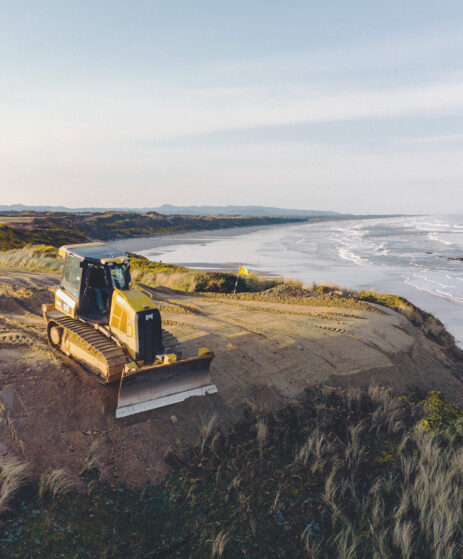
Dream Golf Feature
Renowned photographer Christian Hafer recounts an early morning tour of the Sheep Ranch as construction ramped up.

“The synthesis of wind, ocean holes and extravagant contour gains Sheep Ranch entry into an elite category
of American links.”
– Golf Digest

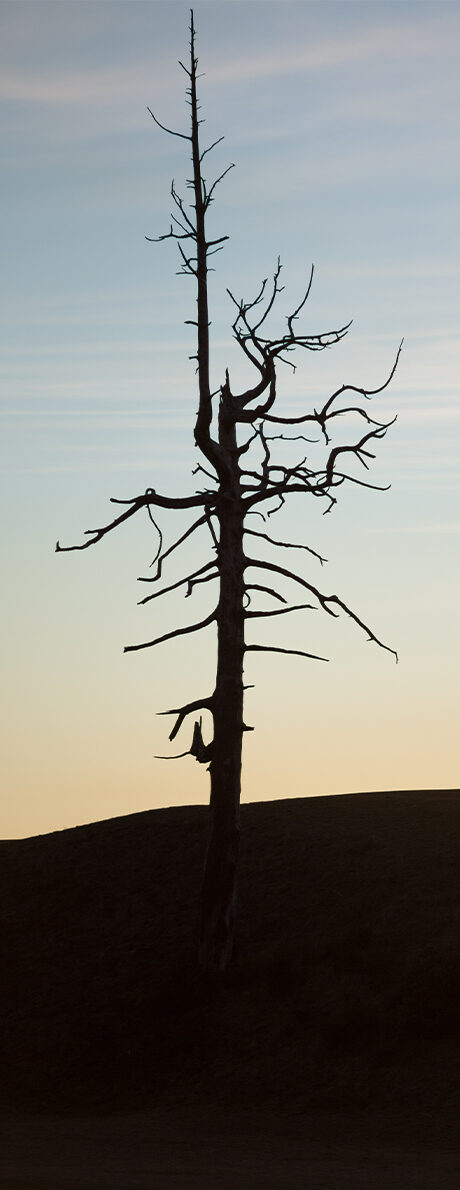
The Sheep Ranch begins with a downhill par-5. Depending on which set of tees you are playing, the single snag sitting behind the right side of the green may be visible on the horizon. With the Pacific Ocean as your target, a drive finishing left of center is ideal. The fairway is generous, but trouble can be found if you go too far right. It only takes a brief walk of 165 yards before the course opens up, revealing the holes to come.
This short par 4 will play downwind during the summer months. It’s easy to let your eyes drift towards the green and take too aggressive of an angle. Tee shots must carry pockets of gorse, tall rough and uneven lies. The ideal tee shot is something that will leave you 100 – 125 yards from the green, aiming left of the greenside bunker. The green sits elevated and depending on the wind, will force you to make adjustments to your yardage.
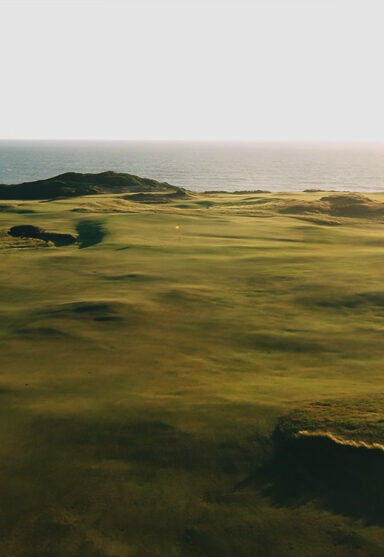
The first of three par-3’son the front nine. This is the shortest hole on the golf course and plays directly towards 5-milepoint, sharing a green with #16. From the tee, you only see a small section of the green. Don’t worry, there is plenty of room behind and to the left of the sand dune for your shot. A cross wind will be present, regardless of the time of year, be sure to factor in the wind and then take dead aim.
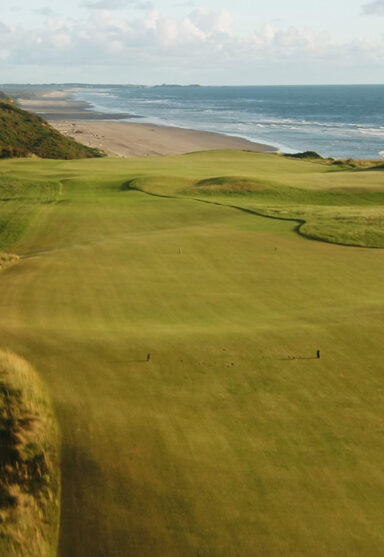
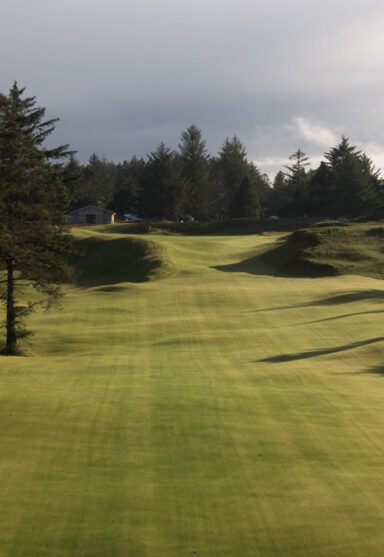
The middle holes on the opening nine at the Sheep Ranch are the toughest, starting with the long par-4fourth. The line on this blind tee shot can be the difference between reaching the green in regulation or having to rely on your short game. Play the ball just right of the fairway bunkers that you can see off the tee. A solid tee shot will propel forward, down the hill and give you extra yardage and a view of the green. A tee shot too far right will kick away from the hole, leaving you a blind shot.
The 5th hole is the longest par-3 on the golf course. The green is much longer than you can determine from the tee, make sure you get a good yardage and commit to it. The mounding around the green will repel your ball away unless you approach the hole head on. Take your two putt par and enjoy the quick walk to the next hole.
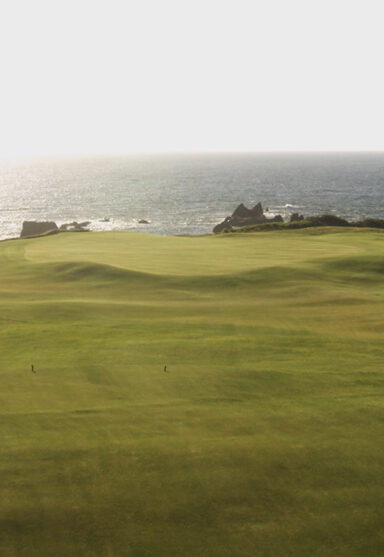
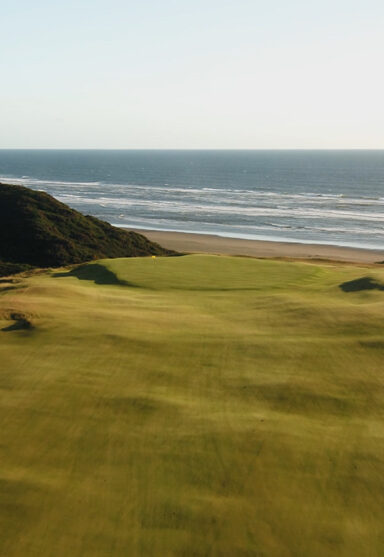
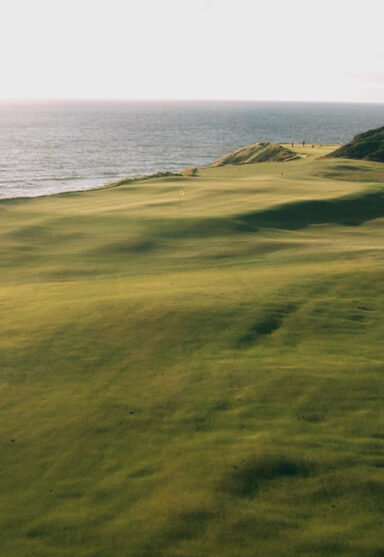
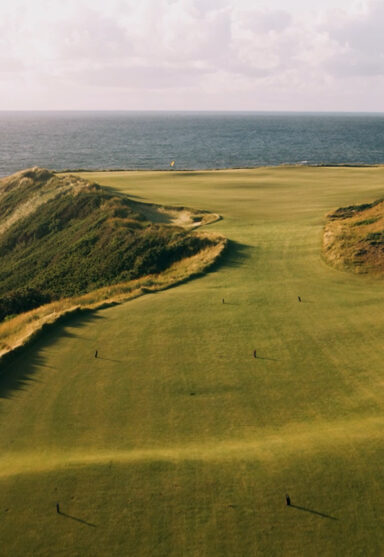
The tee shot from the sixth hole is sure to be one of the most photographed holes on the Sheep Ranch. If you are looking for the green, just follow the coastline to the south. The key to a good score on six is finding the right line off the tee. There are two gorse mounds just beyond the bend — a drive between these will put you in the middle of the fairway. If you want to try and shorten the hole you can aim at the right mound. Before you hit your approach shot, take a look at the green — it’s wider than it is long. And any flag towards the right side of the green should be handled with extreme caution, you don’t want to challenge the coastline a second time on this hole.
The final par-3 on the front nine has a slightly elevated tee, playing towards an infinity green. This hole will play significantly different depending on the time of year. The summer winds will be at your back, requiring less club than the yardage states. During the winter months, this hole plays into the wind. The front of the green is wide and allows for miscues to still find their way to the putting surface. The further you fly the ball, the less green you have to work with.
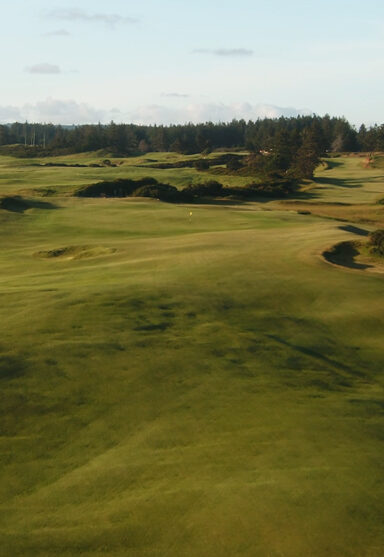
This dogleg right par-4 has one of the most interesting greens on the golf course. Keep your drive between the two trees visible on the back side of the fairway. The left side of the fairway is guarded by gorse and the right side has some thick rough. The undulations on this green make it look very small from the fairway. Hit your approach the right distance and you have given yourself a great chance at a birdie.
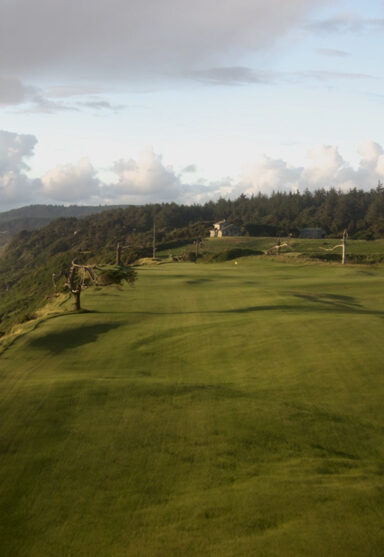
The 9th hole sits on the southern end of the property. From the tee on this par-4 you will likely just see the yellow flag fluttering in the wind. Favor right center for your tee shot and watch your ball release to the middle. After a well hit tee shot, you will have a short iron in for the approach. Middle of the green will put you in a good spot no matter where the hole location is.
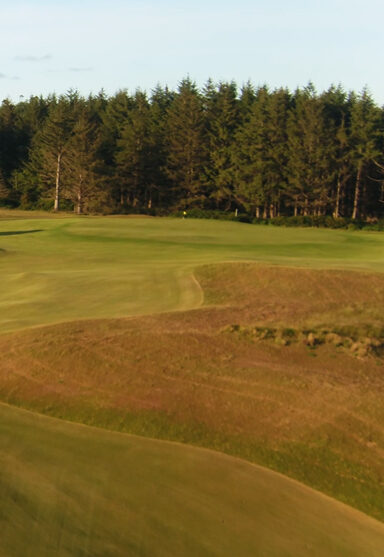
When you stand on the10th tee looking down the fairway, it’s easy to become apprehensive on your tee shot. The fairway appears to be pinched in by a gorse covered dune on the left while a grove of trees is playing defense on the right. Have no fear, half the fairway is hidden beyond the dune, leaving ample room to drive the ball and leave you an angle to attack the green. This green has multiple tiers, creating some difficult hole locations.
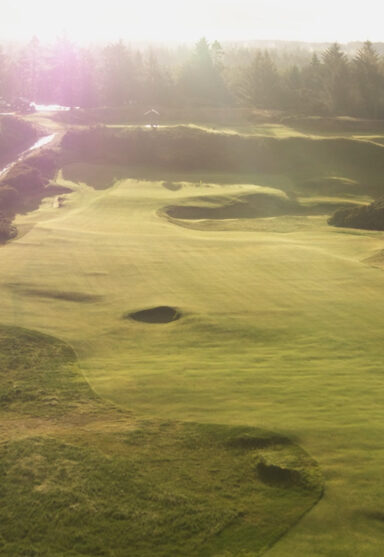
Known as the “Volcano” hole during construction, this uphill par-5 places a premium on both your strategy and execution beginning with your second shot. The landing area off the tee is wide, but don’t get lazy. If you are going for this green in two, a ball near the center of the fairway leaves you the best angle in. The green surround opens back up around the50-yard mark — swing confidently. If you are playing this as a standard three shot hole, it’s best to leave yourself 120 yards to the middle of the green. This keeps you short of the bottleneck and a full swing in.
This is hole will be the most difficult hole on the back nine for many players. Aim just left of the grass bunker in the fairway and put your best move on it — a solid drive will do wonders on this long par-4. If you need to bail out on the second shot, leave it short and to the right. The greenside bunker on the left is shallow but steep and the small shore pine that is growing in the bunker is bound to get in your way.
The second par-5 on the back nine has something for everyone! There are three small grass bunkers in the fairway that can derail the birdie opportunities for the long hitters. If you manage to avoid the bunkers and take a shot at the green, any miss short will likely end up in the greenside bunkers. If you choose to lay up short of the green, the best angle for your third shot will be from the far left side of the fairway. Again, you’ll need to avoid some bunkers and make sure you don’t over club and end up in the gorse bordering the hole. Trouble lies all around the green and the slopes shed balls away from the putting surface.
This par-4 is a blind tee shot that lacks a definitive target for player or caddie to discern. The ideal line is down the left side. With the wind at your back in the summer, you just might have your longest tee shot of the day resulting in a wedge to the green. When playing into the wind, you’ll want to flight the ball down as best you can. The green is very receptive to woods, long irons and wedge alike.

This short par-4 can be reachable for the long and daring in the right conditions. Be careful if you are going for the green off the tee, any ball working right to left or pulled left has a chance of bouncing off the bluff. The conservative play is to hit an iron or fairway wood off the tee, just short of the bunker in the fairway. Accuracy on your second shot is important if you want to get the ball close to the hole. This green has a ridge running down the middle that will direct your ball towards the hole or away from it based upon your angle.
Coore & Crenshaw saved the best for last when it comes to this par-3. The 16th hole has a variety of length once you take into account the size of the green and both wind speed and direction. Don’t let the sound of crashing waves distract you from making a smooth swing. The key to a par here is making sure you can lag the first putt close.
This hole has all the necessary ingredients of a great risk/reward design and is bound to evoke creative tension within your own decision making. An aggressive tee shot, played at the green,
has a chance to get close to the putting surface. The caddie line is to start the ball at the tree on the far right-side of the green. When playing your second shot into the green you have the flexibility of the bump and run or attacking from the air.
The last hole is the shortestpar-5 at the resort. Two bunkers in the landing area force you to play aggressively down the left side or take the conservative approach on the right. Two more bunkers guard the elevated green complex causing second thoughts on how aggressive you want to be. Bail out area is long and left. The green has a left to right tilt, allowing you to feed the ball along the ground on the back hole locations.

